 Ask Us
Scanning
Overview
Four workstations that are equipped with scanners are available in the South Information Commons. Accompanying software includes image editing, web page markup, and optical character recognition (OCR), a function that allows you to turn a printed document into editable text. These machines have the full version of Adobe Acrobat.
Copyright information:
Any images as well as text may be subject to copyright, and should not be scanned without prior permission of the copyright holder(s). Unauthorized copying of any such material is strictly forbidden.
The photocopiers also have the ability to scan. There are two photocopiers at the library, on the lower and main floors.
Scanning Text (PDF)
- Place your document face-down at the bottom-right corner of the scanner.
- In the Start menu, select Publishing Tools » Adobe Design Premium CS5.5 » Adobe Acrobat X Pro.
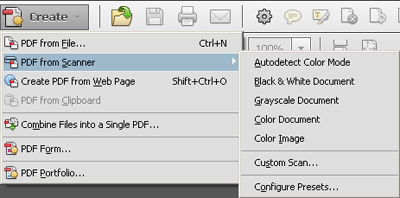
- Click on the type of format that matches your document. The scanner will now scan the first page of your document.
- If you have no other pages to scan, select Scan is Complete and then click OK. Proceed to step 8.
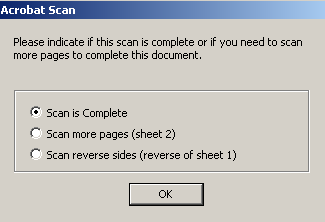
- If you have more pages to scan, select Scan more pages or Scan reverse sides (for two-sided documents). Click OK when the entire document has been scanned.
- Click on the the save icon near the left-hand corner of the window and choose the location where you want the file to be saved (e.g. My Documents), then enter a file name.
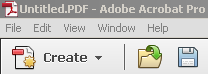
- Click Save. Remember to remove your document from the scanner bed.
Scanning Photos
- Under the Start menu, select Publishing Tools » EPSON Scan.
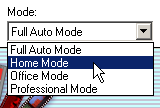
- In the right-hand corner, click on the Mode drop-down menu and select Home Mode.
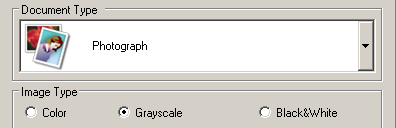
- Select the Document Type and Image Type to match that of your photo.
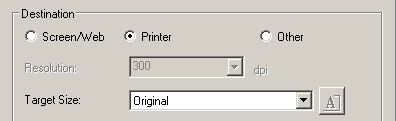
- Under Destination, specify the quality of the image: Screen/Web for small file size or Printer for high quality prints. Other allows for custom resolution.
- Click Preview.

- Optionally, click on the Normal tab in the window that opens, and select the area of your document to scan.
- Click Scan.

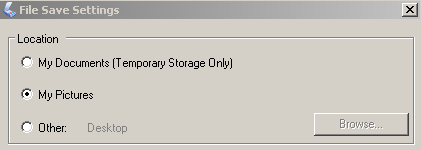
- In the File Save Settings, choose a location to save the file. If your desired location is not on the list (e.g. USB drive), select Other and then click the Browse… button.
- Click OK. Remember to remove your document from the scanner bed!
Scanning Text (OCR)
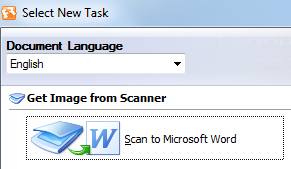
- In the Start menu, select Publishing Tools, and then click on ABBY FineReader 9.0 Sprint.
- In the Select New Task dialogue window, click on Scan to Microsoft Word.
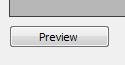
- In the next window that opens, click Preview.
- Click Scan.

- Repeat steps 3 and 4 for for each document you are scanning.
- After scanning is finished, click Close.
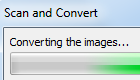
- The file will now be examined for recognizable text and images.

- Once the scanned file has been converted to an editable OCR document, it will automatically open as Document1 in Microsoft Word.
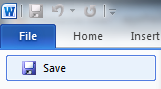
- Go to File and click Save.
- Remember to remove your document from the scanner bed!
Scanning on the Photocopiers
The photocopiers on the lower and main floor allow you to scan to USB keys. Scanning is free but users must supply their own USB keys to save their files.
The photocopiers scan multiple formats including Slim PDF which is suitable for scanning multiple pages into a single file.
Help with the photocopiers is available at the IT Support Desk.
Technical Support
If you require technical support at any point of the process, please visit us at the IT Support Desk in the South Information Commons on the main floor.
Last updated: October 29, 2021