 Ask Us
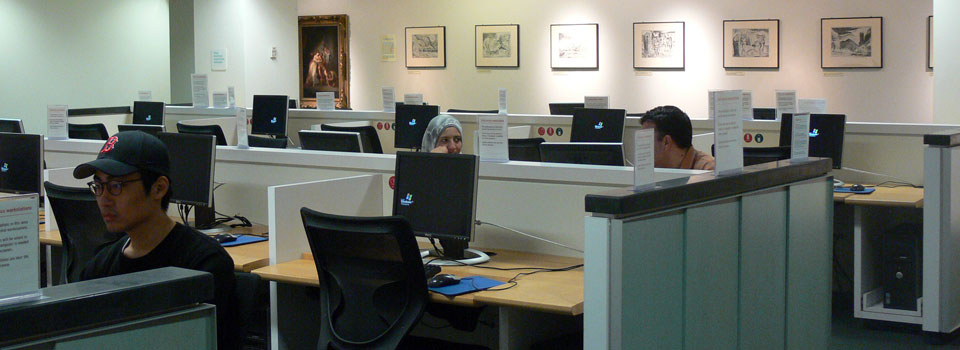
Microfiche and Microfilm Reader
Overview of Functions
The digital microfiche/microfilm scanner allows to view, print and digitally convert library materials in these formats.
The included software allows for near realtime viewing of the captured image, refreshing the screen as you scroll. Controls on both the viewing machine and the computer allow for either fast scrolling or fine adjustments, and the software delivers fine-grained control over contrast and brightness levels, focus, zoom, rotation, and image inversion. Settings can be saved between sessions to ensure identical image capture quality at a later date.
Captured images can be selected, cropped, and sent to the public printer located in the South Information Commons, or saved to a USB key.
There is a good introduction video to the Scan Pro 3000 available here.
https://www.youtube.com/watch?v=jttNig7rc18
Location
The microfiche/microfilm scanner is located near the front entrance of the library. When entering go to the right and you will find it along the wall just under the stairs.
Reader
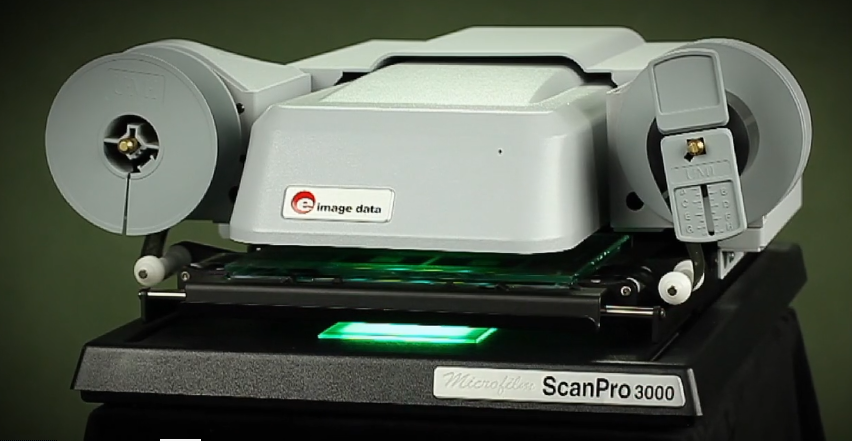
Microfiche Setup
- Using the scanner’s handle pull the tray towards yourself until it cannot pull any further, and the glass flips itself upwards. Do not touch the glass. An instructional video should play with directions on how to load the microfiche.
- Place the microfiche in between the glass plates. Adjust it so that the fiche is straight or images will appear skewed when eventually viewed on the monitor.
- Using the handle push the glass back under the camera. Do not touch the glass.
Microfilm Setup
- Using the scanner’s handle pull the tray towards yourself until it cannot pull any further, and the glass flips itself upwards. Do not touch the glass. An instructional video should play with directions on how to load the microfilm.
- Please use the help video and nearby signs to load the microfilm into the reader. If you require assistance, please ask staff at the circulation desk.
- Using the handle push the glass back under the camera. Do not touch the glass.
Last updated: June 10, 2020